Saturday 31 December 2016

Twelve Tags of 2016 ~ Technique Re-Mix~ Final Tag !

Hip, hip, hooray! I've made it to the end of Tim's Twelve Tags Re-Mix Challenge. Once again, it's been a fabulous, fun year of creative challenges, set by Tim Holtz. You can see his lovely tag with this link. The Technique Re-Mix challenge, has provided a great opportunity to re-visit some of Tim's superb techniques, from times gone by. For the final tag of 2016, Tim has mixed it up with Shadow Press from May 2014 and Burlap and Punches, from 2015. I haven't acquired any of the leaf punches (yet!) so I have used a die cut instead, That's the great thing about Tim's challenges, you don't have to have everything, you just get down and use what you've got. So thank you Tim for another great year of tag making, as well as the opportunity to read your blog and follow your creative adventures, with Mario, Paula, Chelle and the rest of your talented friends. Hope to share more of your adventures in 2017. Happy New Year everybody ! x

Friday 23 December 2016

Winter Magic ~ Guest Design Post for A Vintage Journey


I am absolutely delighted to have been asked to be a guest, over on the blog,'A Vintage Journey'. It's truly an honour to be featuring alongside such a talented team. This year, I have had the great fortune to have attended workshops by Kate Crane, Andy Skinner, Mark Gould, Finnabair, and AVJ's very own, and wonderfully talented, Brenda Brown. I've tried to bring a little of what I have learnt, from each of these artist's, into my work for this guest designer spot.The host for this challenge is the lovely Deb, and she has chosen  'Winter Magic'. I love the theme and was inspired to create a project featuring lots of frosty colours, textures and of course a touch of sparkle. This is how I got started.....
I started off by adhering strips of torn fabric and pieces of lace, to the frame of a reversed canvas. I then put this to one side, and worked on a separate piece of board, as it is much easier to use stencils I on a flat surface, rather than to try and manipulate them inside a frame.
I used Andy Skinner's 'mega crackle' technique, to create the background, and stenciled the tree branches over the top using Crackle Paste. Once the stenciling was complete, I was able to place the board inside the frame, before continuing.
I then gave all my embellishments a coat of white gesso, before arranging them inside the frame. Coating them with gesso gives uniformity and for me, this made it easier to get a sense of whether the arrangement worked before attaching them permanently. 
I used a hot glue gun to adhere the embellishments and sprayed it in patches, with diluted cosmic shimmer. I then proceeded to dry brush everything with white gesso. It took several layers to lighten the surface, drying each one before adding the next.
To finish off my frosty canvas, I added a trail of holographic glitter, a few gems and a crown for my wintery angel.....
It's been an absolute pleasure to make this project for A Vintage Journey. I must say it rounds off what has been a lovely year of crafting. Many thanks to all of the team over at 'A Vintage Journey' and a big  thank you to all of my lovely followers and all of the people who have taken time to leave me such uplifting comments. May I wish you all, a very merry Christmas and a happy and healthy New Year !x

Thursday 1 December 2016

Christmas Wishes ~ Stamps and Stencils ~ New Challenge.


Hi everybody, It's my turn to host our new challenge over on the Stamps and Stencils blog. I've called it 'Christmas Wishes'. Whether it's cards, decorations, giftwrap or gifts, I'd like to see what you've been making, that is as long as it includes some stamping, stenciling or both. I've put into practice a few things I've learned over the last couple of weeks at workshops with The Ministry of Mixology team, and Finnabair, and created this Christmas wreath. I started off with a greyboard circle and covered it with crumpled tissue paper, as taught by Mark Gould.....
I then painted it with  Decoart Pthalo Blue Media Paint and dry brushed the surface with white gesso....
I then attached a selection of embellishments, including one of Tim Holtz's cute little reindeer heads, using extra heavy body gel. I then sprayed the surface with Cosmic Shimmer mists......
This is a technique we used on Finn's workshop. Once the cosmic shimmer was dry, I dry brushed the surface with gesso.....
This is how it looked after the first coat. I continued to build up layers of gesso, dry brushing and drying between each coat.
I found that the Cosmic Shimmer was very strong and kept coming through the gesso. After several coats, I decided to put on a coat of matte varnish in order to seal the surface. This worked well and I was then able to achieve the effect I'd envisaged. Once this was dry, I added some additional pearls and gems and finished with a dusting of glitter. Here are some close up shots.......
and.....

and finally that cute little deer......
I hope you can find a few spare moments to join in with our challenge. You can hop over to the Stamps and Stencils blog with this link, where you'll find the challenge details and see some fabulous projects from the rest of  our very talented team. x 

Wednesday 30 November 2016

Twelve Tags of 2016 Re-Mix Challenge~November.

Hi everybody! It's the last day of Tim Holtz's Twelve Tags of 2016 Re-Mix Challenge and true to form I am posting my November tag. This month, Tim has remixed 'Rub Resist' and 'Dimensional Colouring'. You can see Tim's fabulous Autumnal tag here with this link. I've followed Tim's instructions quite closely on this one and substituted a different stamped image and word cut out. only one more tag to go and that signals the end of yet another fantastic year of creating along with Tim. Thank you Mr Holtz ! x 

Thursday 3 November 2016

Bags, Tags and Boxes ~ New Challenge for Stamps and Stencils

Hi everybody ! It's time for a new challenge over at the Stamps and Stencils blog. Cec is our very talented host this month and she has chosen the title Tags, Bags and Boxes. This is what Cec has to say.....

With Christmas coming up and the gift buying underway, we are going to need something to wrap them in.  Let's make some mixed media tags, bags & boxes that will be as treasured by the recipient as the gift itself.  Don't forget to include some stamping or stenciling.

I've made these little fabric gift bags and decorated them using a stamped and coloured transfer. I love this medium for decorating fabric with stamped images, as the image stays nice and sharp. I aleady had a few pieces of leftover calico cloth, so I decided to make the little bags before decorating them. On reflection, I think it would be easier to buy some bags as they were quite fiddlesome to make. The transfer printing process was much more fun ! This is how I did it......
I firstly die cut some circles from a sheet of Tee Shirt Transfer paper, I bought mine from Asda....
I used the largest circle punch I have, I found that the first circle didn't cut as cleanly as I had wanted. To resolve this issue, I used a thin piece of card placed on top of the transfer paper before punching out the other circles. Those big punches do not cut well through thin papers. Punching through the card and transfer paper together worked much better.
I then used distress colours with a blending tool, over the surface before stamping the images with black Archival Ink. I then left them for a few minutes to dry, as you cannot use a heat tool or the surface will melt.
In order to create a firm surface for ironing on the transfer, I slotted a cork coaster inside each bag before pressing. I was really pleased with the results, here are some close ups......


I threaded some dyed seam binding through each of the bags, and added a simply stamped label and a little 'rusty' jingle bell. I think these little bags would be excellent stuffed with some crafty goodies! Many thanks to Cec for setting this challenge, it means that I have finally made a start on Christmas! If you fancy a little crafting and it doesn't have to be Christmassy, we would love to see your tags, bags or boxes over on our Stamps and Stencils blog. Click on this link and you will find all the challenge details as well as seeing some brilliant work by Cec and the rest of the design team. Hope to see you there ! x

Monday 31 October 2016

Twelve Tags 2016 Re Mix Challenge~ October 2016

Happy Halloween! Here I am posting my tag for Tim Holtz's Twelve Tags Technique Re-Mix Challenge, very close to the 'dead' line! I seem to have some gremlins operating here. Firstly my laptop has taken about 2 hours to update and re-configure itself, Grrrrr! and then my post which was about half way done, disappeared and could not be retrieved, double Grrrr! Still, I will not be defeated, (pressing 'save' as I write) Now about this tag, once again Tim has used two fabulous techniques, Patchwork Collage, and Sizzix Monster. There's a little twist with the Patchwork Collage as Tim has used Distress Collage Crazing Medium. This creates very fine crackles on the surface, which are made more visible when Distress Crayon is rubbed in. I haven't got any of the monster dies,so I've improvised with a skull I cut on my electronic cutting machine.
Here's a close up, the crackles are just visible around the edges, I might use a slightly thicker application next time. By the way, that's paper from Tim's Laboratory Paper Stack with a spider web print, not crazing from the Collage Medium ha ha! You can also see the Tiny Attacher staples I've used, that I firstly coloured with Alcohol Ink.
I got a bit carried away with the red staples and used them to follow Tim's idea, by adding an extra piece to the top of my skull. Once again, a great fun tag to make and thank you Tim, for picking my September tag as one of your winners. It's such a great thrill when you see your name on the list ! x

Thursday 6 October 2016

Elements of Nature ~ Stamps and Stencils ~ New Challenge.


Hi everybody! Its the first Thursday of the month and that means it's time for another challenge over at Stamps and Stencils. Autumn is our fabulous host and she has chosen 'Elements of Nature' as her theme. This is what Autumn has to say........

Whether you are inspired by the glorious world around us with the changing seasons, or tempted to use elements of nature in your art work, this month we'd love to see your nature inspired entries.  Anything goes as long as you include a natural element in your art which can be either either stamped or an actual item!  As always you need to include stamping or stenciling.

I think you'll agree, there is plenty of creative scope with this challenge! My project is a little 5x7 canvas. This is how I got started.....
I firstly collaged some papers and  Washi tape to the  surface of the canvas.....
I then applied gesso to the surface using a palette knife so that some of the papers showed through.
I then stenciled on the heart design using Wendy Vecchi Crackle Embossing Paste. The stencil is by Crafter's Workshop.
As you can see in this closeup, the crackle paste works a treat! Once this was dry, I applied a couple of  thin washes of Deco Art Media Acrylic paint in Titan Buff and Green Gold. Once these layers were dry, I stenciled a few leaves to the bottom and top corners and added some stamping with a flourish stamp. I then replaced the heart stencil, and applied Treasure Gold, gilding paste, in Spanish Topaz
This really brought those lovely crackles to life. To encourage the heart to stand out, I went around the edges with a black Stabilo pencil and activated it with a water brush. The final stage to the background was to add a 'dirty wash' to the surface. I used Andy Skinner's recipe, with Quinacridone Gold, Paynes Grey and a touch of Yellow Iron Oxide thinned down with plenty of water. I then made a dimensional dragonfly, using Tim Holtz's Layered Dragonfly die and embossing folder.
I cut the body from a piece of thin craft metal and coloured it with Alcohol Ink. The wings are cut from acetate. I also stamped onto the wings, with the same crackle stamp, that I used for the leaves, on my last project for Stamps and Stencils. I then attached it to the canvas using Glossy Accents.
So, that's how I made my canvas ! If you would like to join our challenge this month, hop over to the Stamps and Stencils blog with this link where you'll find the challenge details, as well as Autumn's beautiful project and some fantastic inspiration by the rest of the team. hope to see you there ! x 

Thursday 29 September 2016

Having Fun With Stickers.

Hi everybody! It's my turn to inspire you over on the Stamps and Stencils blog. I've had a great time playing around with paints and inks making my own stickers. If you'd like to see how easy it is to make yourself a pile of lovely colourful stickers, hop over to the Stamps and Stencils blog with this link, and I'll guide you through the process. Ha ha ! who doesn't love a few stickers? x

Monday 19 September 2016

Twelve Tags of 2016 ~ Technique Remix ~ September

I can hardly believe it. It's not quite the end of September and I've finished my tag for Tim's Twelve Tags Remix Challenge.This month Tim has married together, Distress Patina and Alcohol Ink Resist. Two great techniques. The added twist is that Tim has used Yupo as a background. If you haven't tried this amazing substrate, I suggest you give it a go, it works so well with Alcohol Ink. You can see Tim's fabulous tag here. I particularly like the effect of the Alcohol Ink Resist on my tag, as It looks rather like a vintage film negative. The stamp I've used has lots of fine detail which the Alcohol Resist has picked up really well......
That's it for today folks, short and sweet! See you soon. x

Thursday 1 September 2016

The Colours of Autumn ~ Stamps and Stencils ~ New Challenge.

Hi everybody !It's the first Thursday of a new month and that means that it's time for a new challenge over at Stamps and Stencils. Rachel is our fabulous host this month, and she has chosen 'The Colours of Autumn'. This is what Rachel has to say

 'The colours of Autumn'.... just to clarify - the theme is not autumn - just the colours - so you don't have to focus on leaves but of course you can if you want to!!! '

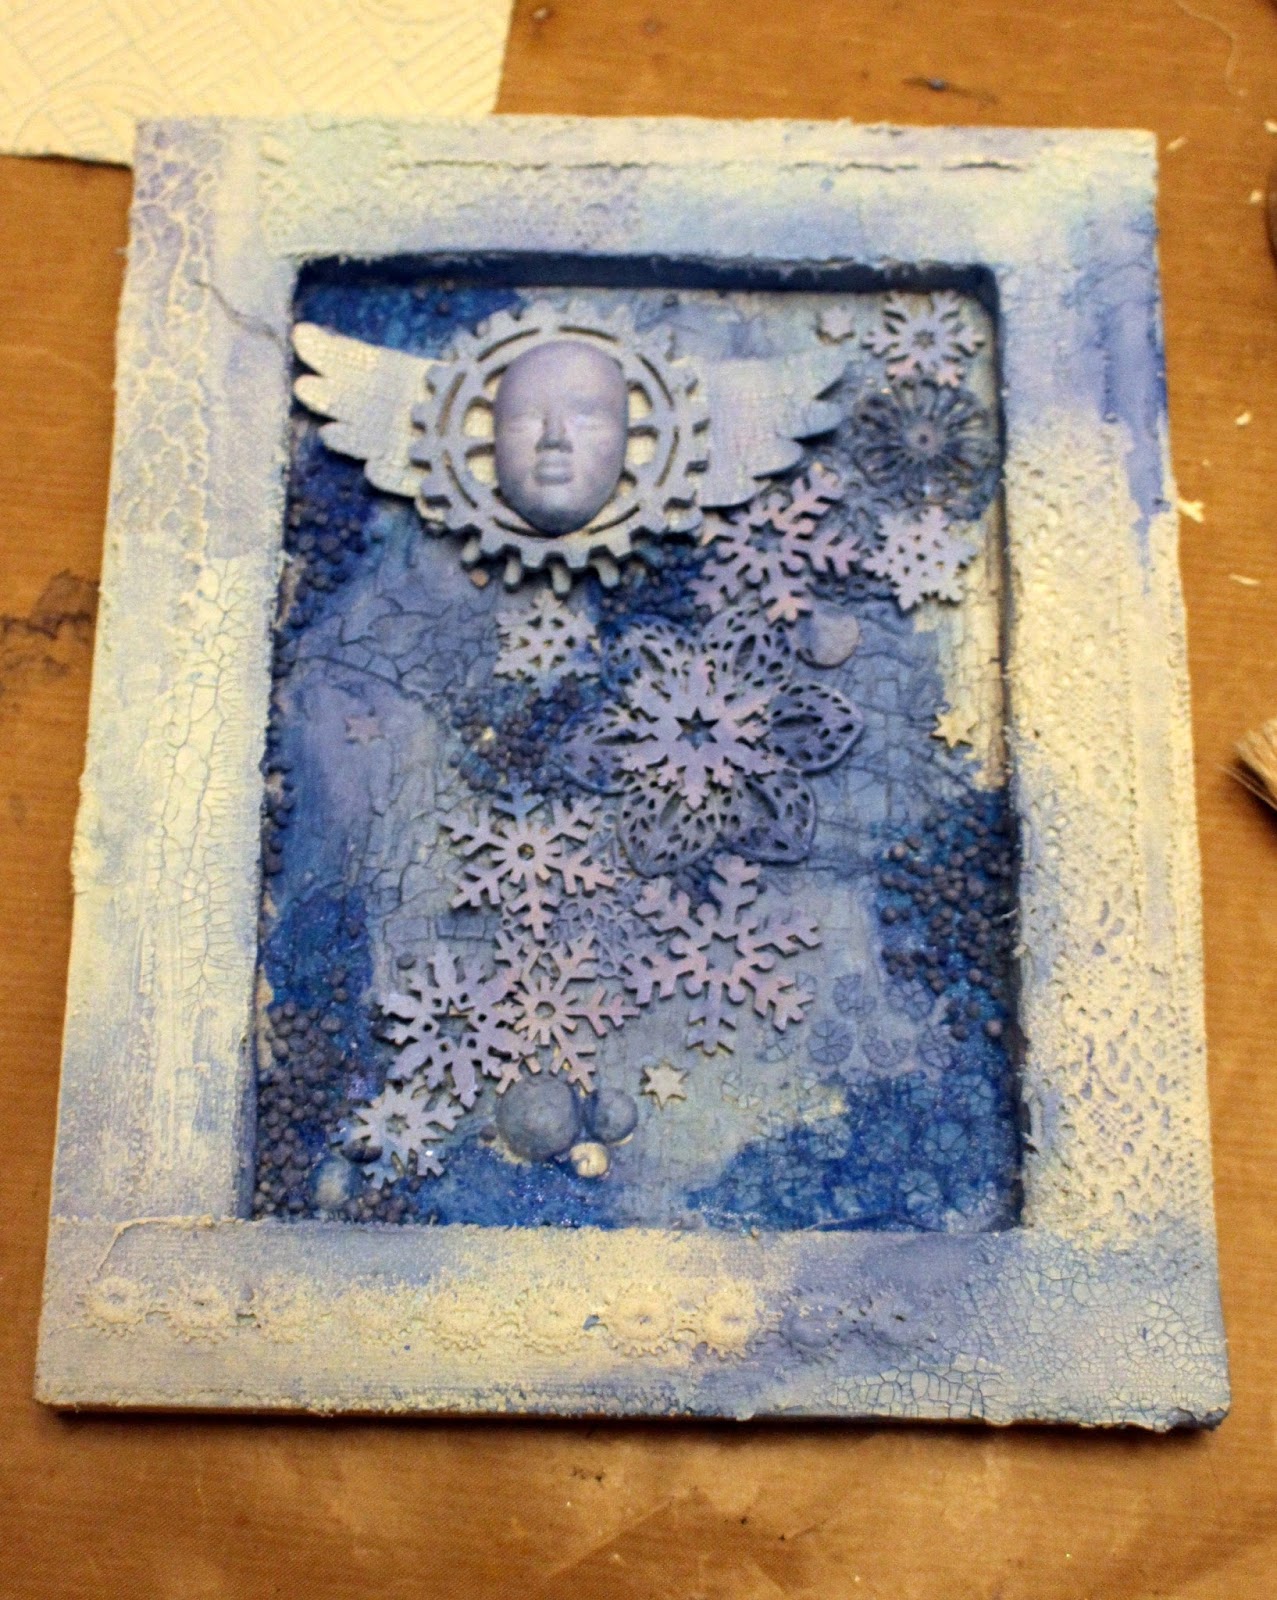
I think you'll agree that this is the perfect challenge for this time of year. If you hop over to the Stamps and Stencils blog, you'll see Rachel's fabulous journal spread, along with some fantastic projects from the rest of the design team. I decided to go 'leafy' with my project and put together this wall hanging, using lot's of Autumnal colours. Whilst mooching in my 'off cuts' draw, I came across some rectangular pieces of mount board about the size of an extra large tag. This was to be my starting point....
I adhered pieces of book pages to the mount board using Matte Mod Podge. Once dry I coated the surface with gesso.

I then applied Dylusion sprays in shades of yellow, orange, brown and green. I also used my new Distress Crayons around the edges and blended them in. This really added depth to the colours. Love these crayons ! Once this was dry, I partially stenciled a flourish into the background, using gesso. The white colour softened as it absorbed some of the Dylusions, giving a barely there look. I then stamped some images of teasels using Archival Inks.I also did a little more stenciling with a Trellis Layering stencil.
Whilst the various layers were drying, I cut a whole bunch of flowers and leaves, in lightweight manila card, using Tim Holt's Tattered Florals  and Tattered Leaves dies. I coloured these on both sides, using a variety of Distress Stains. 
Once the flowers were dry, I used a ball tool and a soft mat to mold the flowers into shape.
To form the centres of flowers, I used a forwards and backwards motion along each petal. This gathers the petals inward. I then applied a little glue to the sides of each petal and gently brought them up together. This is a bit fiddly and you have to hold the shape together until the glue starts to dry. It's worth doingthough,  as it makes the flower look quite realistic.
I gave the flower a quick squirt of Copper coloured Mica Spray which has added a lovely sheen. The leaves were also coloured with Distress Stains. Once dry, I stamped the surface of each leaf with a crackle patterned stamp.
I also folded the leaves and ran a Mini Distress Ink Pad along the folds, I love doing this kind of 'faux realism'. I then assembled the hanging using Cosmic Shimmer glue to adhere all the different elements. To finish my floral arrangement, I added a bow made with my favourite linen thread. I typed out the quote and added it to the surface and finished the project off with a rusty wire hanger.....

 and a faux rust, name plate
and that, readers, is how I put this project together ! Now if you fancy getting to grips with some gorgeous Autmn Colours, we'd love to see your efforts. Hop over to the Stamps and Stencils blog, where you'll find plenty of inspiration, as well as all the details of how to join in. I look forward to seeing what you come up with.! x

Tuesday 30 August 2016

Twelve Tags of 2016 ~ Technique Remix ~ August 2016

Hi everybody ! It's Tim tag time. It's been a great month for crafting with Tim Holtz's Creative Chemistry 103. After following this brilliant online course, I've now got a lovely pile of tags showing loads of different techniques. I've still got to photograph and post my Alcohol Ink tags and amongst this group are some of my favourites. Watch this space ! There is of course always room for one more tag and this is it, my offering for Tim's Twelve Tags Remix Challenge. This month Tim combined 'brayered stain' and frameworks'. Both lovely techniques which work so well together. I've followed Tim quite closely for this one, as quite frankly my brain hurts after all the tag making I've done this month! I did, however, use some Distress embossing powder on my die cut flowers. This has given them a lovely texture. You can find Tim's tag here, and if you haven't signed up for The Creative Chemistry Classes, it's not too late as there is lifetime access. Whoopie ! x

Thursday 11 August 2016

Creative Chemistry 103 ~ Day 3 Distress Mediums ~ Day 4 Distress Crayons

Well I'm still way behind but I'm loving the intensity of Creative Chemistry 103. Tim has put together some amazing techniques for using his new Distress Mediums and Texture Pastes. I'm resigned to not being able to catch up, but I'm going to keep going until I've finished at least one sample for each lesson. First up, are my sample tags for day 3, using Distress Mediums and Texture Pastes. Lovely to see our very own Jenny Marples getting a mention and inspiring Master Tim, with her brilliant Texture Paste Resist Technique. My tag inspired by this, is the second to last, on the bottom row of this set. Way to go Jenny ! here are some individual pics from day 3.......

Layered Collage

Texture Paste Embossing

Texture Paste Resist

Distress grit Paste

Day four.....
Next up, are my samples using Distress Crayons, what can I say, these crayons are just fabulous! I've had them for a while now and have only used them tentatively, so it was really great to get down and dirty with them and I mean dirty ! Lot's of smudging and finger painting with these luscious crayons.
Distress Crayon Smudge.

Distress Crayon Gesso Fresco Technique

Distress Crayon Textured Resist

Distress Crayon Watercolour Resist

Distress Crayon Blended Background

Distress Crayon Layered Colouring Technique.
So, I have just Day 5 and Day 6 to complete. Just hoping that the postman arrives soon with my Yupo ! x