Friday 30 January 2015

Compendium of Curiosities 3 ~ Challenge 20~ Distress Water Colour ~ Part 2

Hi everybody! It's been a few weeks since I've joined in the fabulous Compendium of Curiosities Volume 3 Challenge, so I thought I'd better get my finger out and get on it! Linda and the Curiosity Crew are on challenge 20 already and like many people, I really don't want it to end!
The Crew have chosen the technique of 'Distress Water Colour part 2'. This can be found on page 40 of Tim's Compendium of Curiosities Volume 3. If you want to know how to water colour like Tim, you'll have to grab a copy of his book, which you can order directly from the master, by following this link. This fortnight's challenge is sponsored by by The Funkie Junkie Boutique, to the tune of a fabulous  $25 gift certificate for one randomly drawn entry. There is also a box of assorted goodies, donated by Tim and Mario, for the Curiosity Crew's favourite.
I've made this little triptych with some stamps I received for free in a goody bag. I love these vintage images. Here are a couple of close ups

Well there you have it ! Challenge #20 completed. I hope I'll be back to join in with #21. happy crafting everyone 1 x

Thursday 29 January 2015

Twelve Tags of 2015 ~ January

Hi everybody! it's a little late in the month but let me wish a happy new year of Tim's Twelve Tags of 2015, to all you devotees of this fabulous challenge. This will be my fourth year of joining in and I don't think I've missed one, (I will be checking later to see if this is true!) Tim has got us of to a great start with this first tag. You can see Tim's tag by clicking on this link. I've followed Tim's tag fairly closely, with a few substitutions for items I haven't got. That's one of things I love about this challenge, you can follow Tim to the letter or you can do your own thing. Which ever path you choose it's guaranteed to be fun. It also has the added bonus of learning a great deal along the way. Many thanks to you,Tim, for hosting this brilliant challenge for yet another year !

Thursday 22 January 2015

Flower Power ~ New Challenge at The Artist Trading Post Exchange

It's time for a new challenge over at the Artist Trading Post Exchange. Julia is our lovely host, and she has chosen  to brighten up these winter days, with a wonderful theme, 'Flower Power'. If you love making flowers, this challenge will be right up your street.  Make a project featuring handmade flowers, include stamping somewhere on your work, no digis please, and share it with us over at the Artist Trading Post Exchange. There is a £10 gift certificate to spend at the fabulous Artist Trading Post, for the team's favourite project.
I've had a lot of fun, firstly emptying and then recycling this little round chocolate box. Christmas is a great time to add to your stash of interesting boxes, this one was just perfect for up-cycling. this is what it looked like before I got to work.
Firstly, I removed the label and then lightly sanded the smooth surface, before painting it with white gesso. I decided to leave the bottom half as it was. The lid fits quite snugly and I wasn't sure if painting the bottom half would affect the way it fitted together. Once the gesso was dry, I painted on a base coat of brown acrylic paint and left it to dry. I then applied Crackle Glaze, left this to dry and then added a top coat, which is a mixture of Vintage Lace and Concrete Fresco Finish Chalk Acrylic Paints. I love seeing the cracks appear as the top coat dries. This is what it looked like....
In order to give it a more vintage look, I blended in a little Potting Soil Archival Ink. I then started to dress the lid up a bit. I adhered  a black ribbon around the middle and edged it, either side, with  a narrow cotton lace. I then  made a stamped label using one of the stamps from Tim's Travel Labels set.
The roses were a little challenge I set myself. I wondered if it was possible to make them using the Jumbo Tattered Pine Cone die and yes it is. It's not quite as easy as making the smaller ones, as there is so much more card to gather in. I used a light weight manila card for the die cuts, which I firstly sprayed with Antique linen and Tattered Rose Distress Sprays. If you haven't tried making roses with the smaller Tattered Pine Cone Die, Tim has an easy to follow tutorial on his blog which you can view with this link. I used the same method but secured the layers as I went along, using my glue gun. The pink flower  was made with the smaller Tattered Pine Cone Die, so you can see the difference in size between the two dies.
I love making flowers, so I am pleased to add this new one to my repertoire. The leaves were cut from the Jumbo Tattered Florals Die and once again sprayed with Distress Ink, this time with the addition of one of the metallic sprays, Tarnished Brass. I added a little stamped tag to continue the Parisian theme. So there you have it my vintage chocolate box, I imagine that it could have been left on the sumptuous feather pillow, in the bedroom of some swanky hotel in Paris, filled with delicious hand made chocs.... Yes, I think this would feature in the life I have imagined !! Now it's over to you. Hop over to the Artist Trading Post Exchange blog and you'll find full details of how to join in this fortnight's challenge. If you want to purchase some of the items I've used to up-cycle my choc box, just click on the highlighted links and you'll be transported to the fabulous Artist Trading Post Shop. so until next time.... au revoir !


Thursday 8 January 2015

Artist Trading Post Exchange ~ Fresh Beginnings


Happy New Year folks ! Sue is the fabulous host of the first challenge of the year, over at the Artist Trading Post Exchange.  She has chosen the title 'Fresh Beginnings', and is asking us to try something new. This could be a new product, a new technique or maybe something new to alter. You know the score... just let your imagination fly ! Just remember...... to be eligible to win a £10 gift voucher for the well stocked, Artist Trading Post  you must include some stamping on your project and please, no digis.
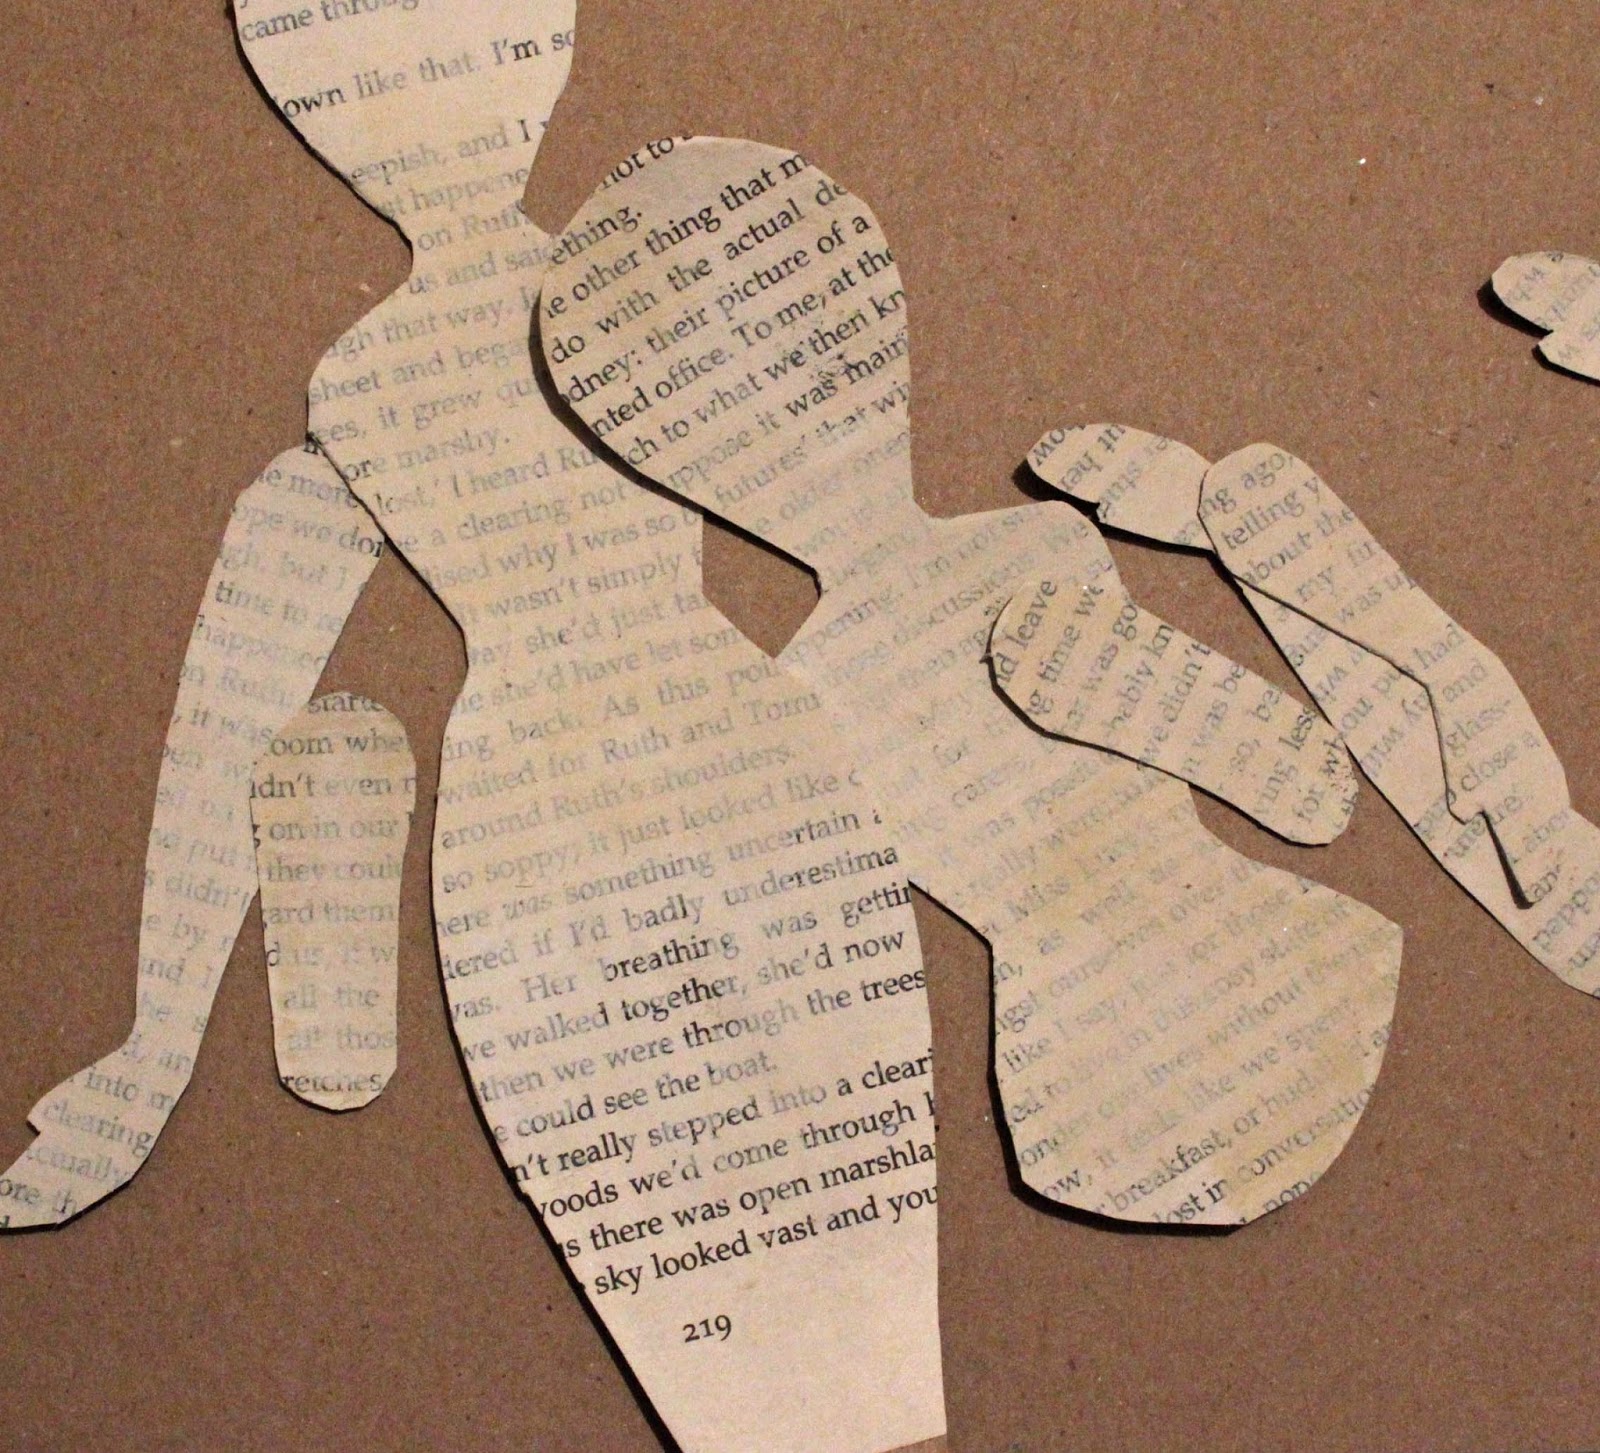
For my  'Fresh Beginnings', I decided to try something I've been wanting to do for ages and that is to make an art doll. as you can see I ended up making two as it was so much fun. I used a free template I found on The Enchanted Gallery click on this link if you'd like to take a look at the fabulous designs Kimberley has on her website. After printing out the template on thin card, I cut out the pieces I needed and drew around each one onto a piece of kraft card. I then cut these out and glued them onto book pages.
I gave them a light coat of Antique Linen Distress Paint, mixed with a little white gesso.
I applied foil tape to the tails and ran them through my Big Shot, using a Tim Holtz Riveted Metal embossing folder and a cogs and gears folder from my stash. I then blended several colours of Adirondack Alcohol Ink onto each tail. Once dry, I rubbed over the surfaces with wire wool, exposing some of the shiny foil surface. I love the results of this technique. Now for the faces, I must say I'm rather pleased with myself with these......
 The paperback book I've been using, conveniently, has 4 or 5 blank pages at the end. I used one of these to stamp the faces  with  black Archival Ink, using a stamp I've had for ages. It's a pretty face but has closed eyes, which wasn't really what I wanted for these goddesses. As an experiment, I lightly sketched open eyes onto the stamped eyelids and then went over my sketch with a fine black pen. Genius or what ! ha ha, not perfect I know, but quite acceptable. I gave the lips and cheeks a little colour with  Distress Marker ink, applied with a Detail Water Brush. I then cut out the faces and adhered them to the dolls heads.
I then constructed each goddess, using Long Fasteners to attach the arms, and Matte Multi Medium to attach the tails to the bodies. I then  added a few embellishments to each one. Their hair was cut from Tim's Holiday Greens Die and embossed with Wendy Vecchi's embossing powder.
Here is goddess number 1..
..and here is number 2....
Watching these to come together has been quite  joyous. I'm sure I'll be making some more. Now if you fancy trying something different, we'd love to see your work. Hop over to the Artist Trading Post Exchange with this link, and show us your Fresh Beginnings, who knows you could be our winner !
If you'd like to purchase some of the materials I've used, click on the highlighted links and you'll be transported to the Artist Trading Post online shop. The free art doll templates can be found here  http://www.theenchantedgallery.com/paperdolls.html Happy creating ! x